Welcome
We hope you will enjoy it!
If you have any questions that are beyond the scope of this documentation, please feel free to contact us via our Support System and our support team will be glad to help you out.
- Documentation Created: March 2021
- Documentation Last Update: April 2023
- View Changelog
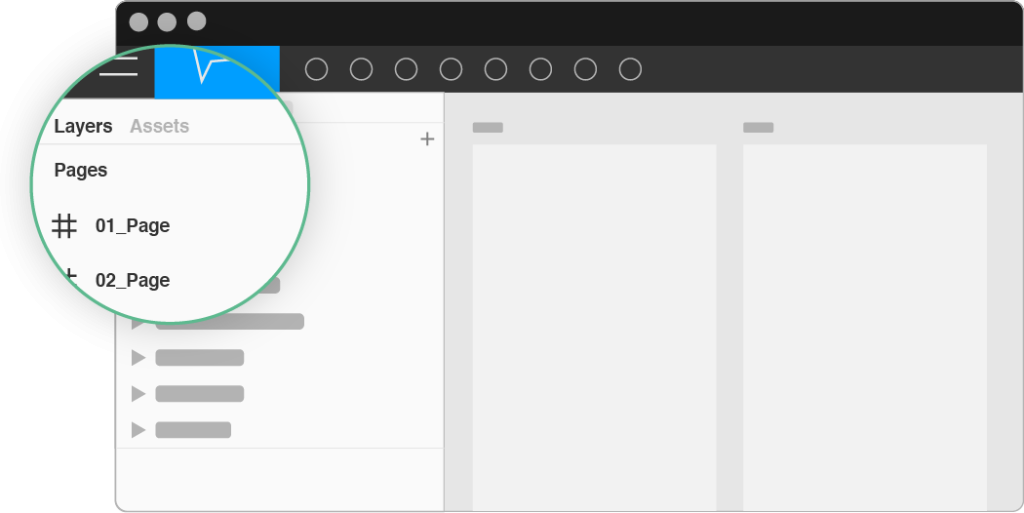
Files Structure
The design contains 32 pages:
- 01_Text_on_image
- 02_Full_width_slider
- 03_Split
- 04_Headline
- 05_Text
- 06_Text_&_button
- 07_About
- 08_Features
- 09_Gallery
- 10_Grid
- 11_Contact_form
- 12_Table
- 13_List_repeater
- 14_Product
- 15_Blog_posts
- 16_Tabs
- 17_Wide
- 18_Contacts
- 19_Video
- 20_Social
- 21_Pricing_table
- 22_Team
- 23_Counter
- 24_Brands
- 25_Testimonials
- 26_Thirds
- 27_Overlap_block
- 28_Layered_images
- 29_Rectangle
- 30_Border
- 31_Over_grid
- 32_Tiles
Template Features
- Full width 1440px
- Grid based on 1140px system
- Vector icons
- Free Google fonts
- Symbol page included
- Text styles included
- Easy & 100% customizable Figma files
- All layer has been named and grouped properly
- Clean typography
- Clean user interface
- Lifetime updates
Fonts
- DM Sans ( https://fonts.google.com/specimen/DM+Sans )
Please note: You need to install the fonts below before editing the Figma file.
Icons
- Flat Icon ( https://flaticon.com )
- Custom
Please note: We provide all icons in SVG format.
Installation
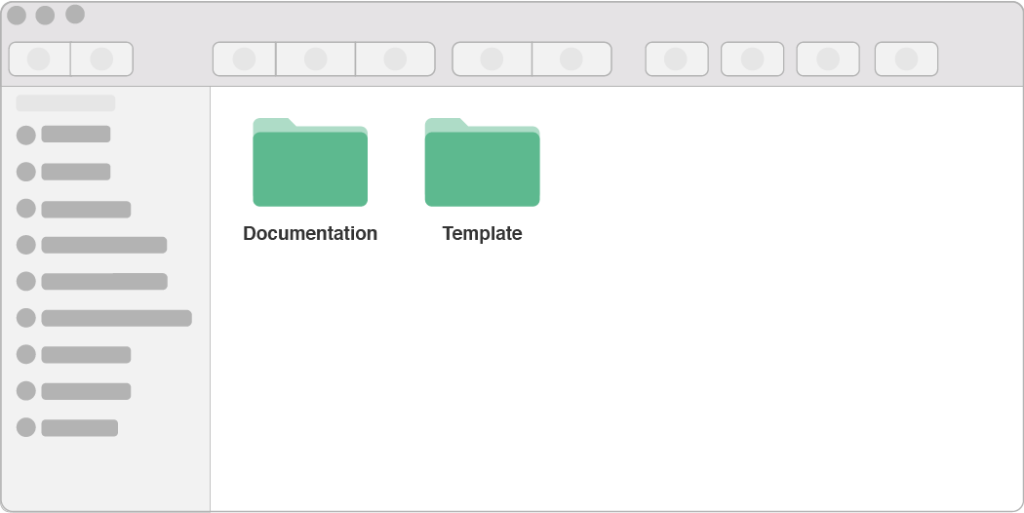
You have to unzip the file. The Figma template file is in the Template folder. Open the folder named “Template” and find “.fig” file. Drag & drop this file to your Figma Desktop APP and start editing.
You can also find documentation files in the Documentation folder.
Configuration and Customization
It is easy to use this design; you can adapt it for any activity. There is a lot of space for information.
All layers are grouped into their respective categories and have a similar structure. All the layout elements are editable.
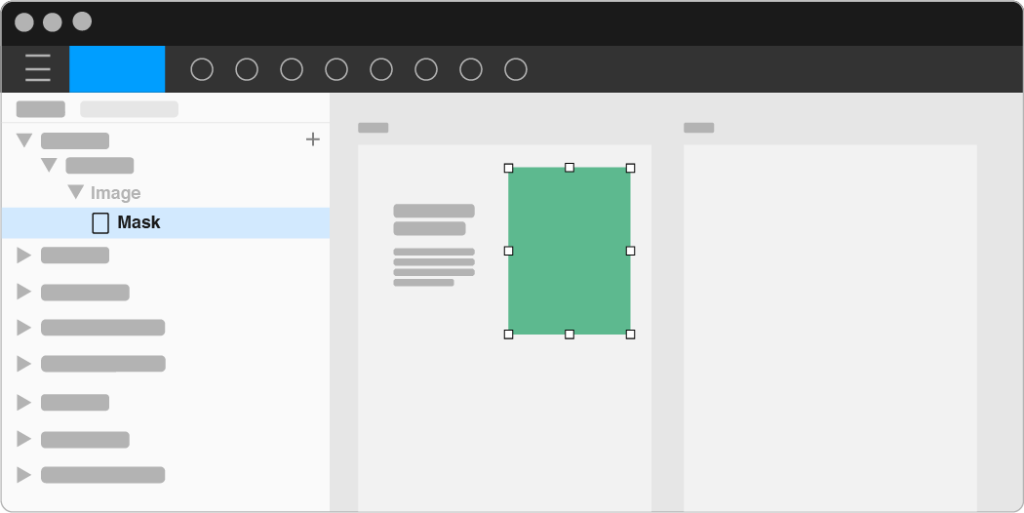
Images: If you want to add your photos to the layout, just drag your photo on the masked square to create a clipping mask.
Texts: If you want to change text, simply select text layer content and change it.
Contacts
If you have any questions or need customization, please contact us via our Support System. We will help you as soon as possible!
Support Link: https://store.adveits.com/my-account/tickets/